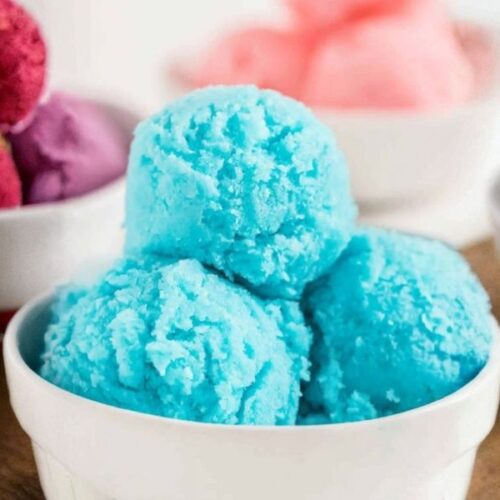
3-Ingredient Kool Aid Ice Cream
A vibrant, fruity, no-churn ice cream made with Kool Aid, sugar, and milk. Quick to prepare, easy to customize, and freezer-friendly — perfect for cooling down on warm days.
Equipment
- 1 Large Mixing Bowl
- 1 Hand Mixer
- 1 Shallow Cake Pan
- 1 Silicone Spatula
Ingredients
- 1 package Kool Aid any flavor
- 1 cup sugar
- 3 cups whole milk
Instructions
- Combine the Base Ingredients: Place a large mixing bowl on your counter to give yourself enough room to work. Add the entire packet of Kool Aid powder to the bowl, followed by the sugar. Pour in the whole milk slowly to help prevent splashing. Using a whisk, stir the mixture thoroughly until the sugar and Kool Aid have completely dissolved.You should see no sugar granules at the bottom of the bowl, and the milk should have taken on a smooth, vibrant color from the Kool Aid. This step is crucial for achieving an evenly flavored and textured ice cream base.
- First Freeze for Firmness: Carefully pour the mixture into a shallow cake pan, spreading it out so the liquid is level across the surface. The shallow design will allow the mixture to freeze more quickly and evenly. Place the pan in the coldest part of your freezer and let it rest undisturbed for about 2 hours, or until the liquid is mostly frozen but still slightly soft in the center. This partial freeze makes the next mixing stage easier and ensures a creamier texture.
- Blend for Creamy Smoothness: Once the mixture is semi-frozen, remove the pan from the freezer. Use a spoon to break up the icy block into manageable chunks and transfer them to a large mixing bowl. With a hand mixer set to medium speed, beat the frozen mixture until it transforms into a creamy, smooth consistency. This aerates the ice cream, breaking up large ice crystals and giving you a lighter, softer texture. Take your time — the smoother you get it now, the creamier it will be later.
- Second Freeze for Final Texture: Pour the blended mixture back into the shallow cake pan, spreading it evenly once again. Return the pan to the freezer and allow it to freeze for an additional 2 to 3 hours, or until completely solid. Avoid opening the freezer frequently during this stage to keep the temperature stable, which helps maintain a smooth, firm texture.
- Serve and Enjoy: When you’re ready to serve, remove the ice cream from the freezer and let it sit at room temperature for 3–5 minutes to soften slightly. Use an ice cream scoop to serve into bowls or cones. Garnish with fresh fruit, sprinkles, or whipped cream if you like. Enjoy your vibrant, flavorful homemade Kool Aid ice cream — a treat that’s as easy to make as it is fun to eat.
Notes
- This Kool Aid Ice Cream is a colorful, no-churn frozen treat that requires only three simple ingredients and minimal effort.
- Its versatility is unmatched — choose any Kool Aid flavor to create your own unique color and taste.
- The key to the recipe’s creamy texture lies in blending the semi-frozen mixture halfway through the process to break down ice crystals.
- While it’s a fun dessert for kids, adults will also appreciate the nostalgic flavors.
- Perfect for warm weather, parties, or quick sweet cravings, it’s a freezer-friendly option you can prepare ahead of time and enjoy whenever you want.
